Organizing Your Tool Shed Efficiently: Smart Storage Tips That Save Time
Introduction
If your tool shed looks more like a chaotic catch-all than a workspace, you’re not alone. Over time, even the most well-meaning DIYer or tradie can end up with a cluttered mess of tools, hardware, and gear. The good news? An organized shed doesn’t just look better—it makes every project faster, easier, and safer.
In this guide, we’ll walk you through practical, smart, and budget-friendly strategies for organizing your tool shed efficiently. Whether you’ve got a compact backyard shed or a spacious garage workshop, these tips will help you create a system that works, clears the clutter, and keeps your tools in top condition.
Why Organize Your Tool Shed?
Before diving into the how, let’s talk about the why:
- Save time: No more searching for that missing spanner or drill bit.
- Improve safety: Avoid tripping hazards, falling tools, and unsafe storage.
- Protect your investment: Keep tools dry, rust-free, and damage-free.
- Boost productivity: An organized workspace leads to more efficient and enjoyable DIY or professional jobs.
Now let’s get to work.
Step 1: Declutter Before You Organize
Before buying shelves or hooks, take time to purge what you don’t need.
What to Look For:
- Duplicate tools you rarely use
- Broken tools or rusted gear
- Empty boxes, damaged containers
- Old hardware or spare parts you’ll never realistically need

Pro Tip: If you haven’t used it in a year, consider selling, donating, or binning it.
Step 2: Categorize Your Tools and Supplies
Now that you’ve streamlined, group what’s left into logical categories. This makes it easier to assign zones and choose the right storage.
Common Categories:
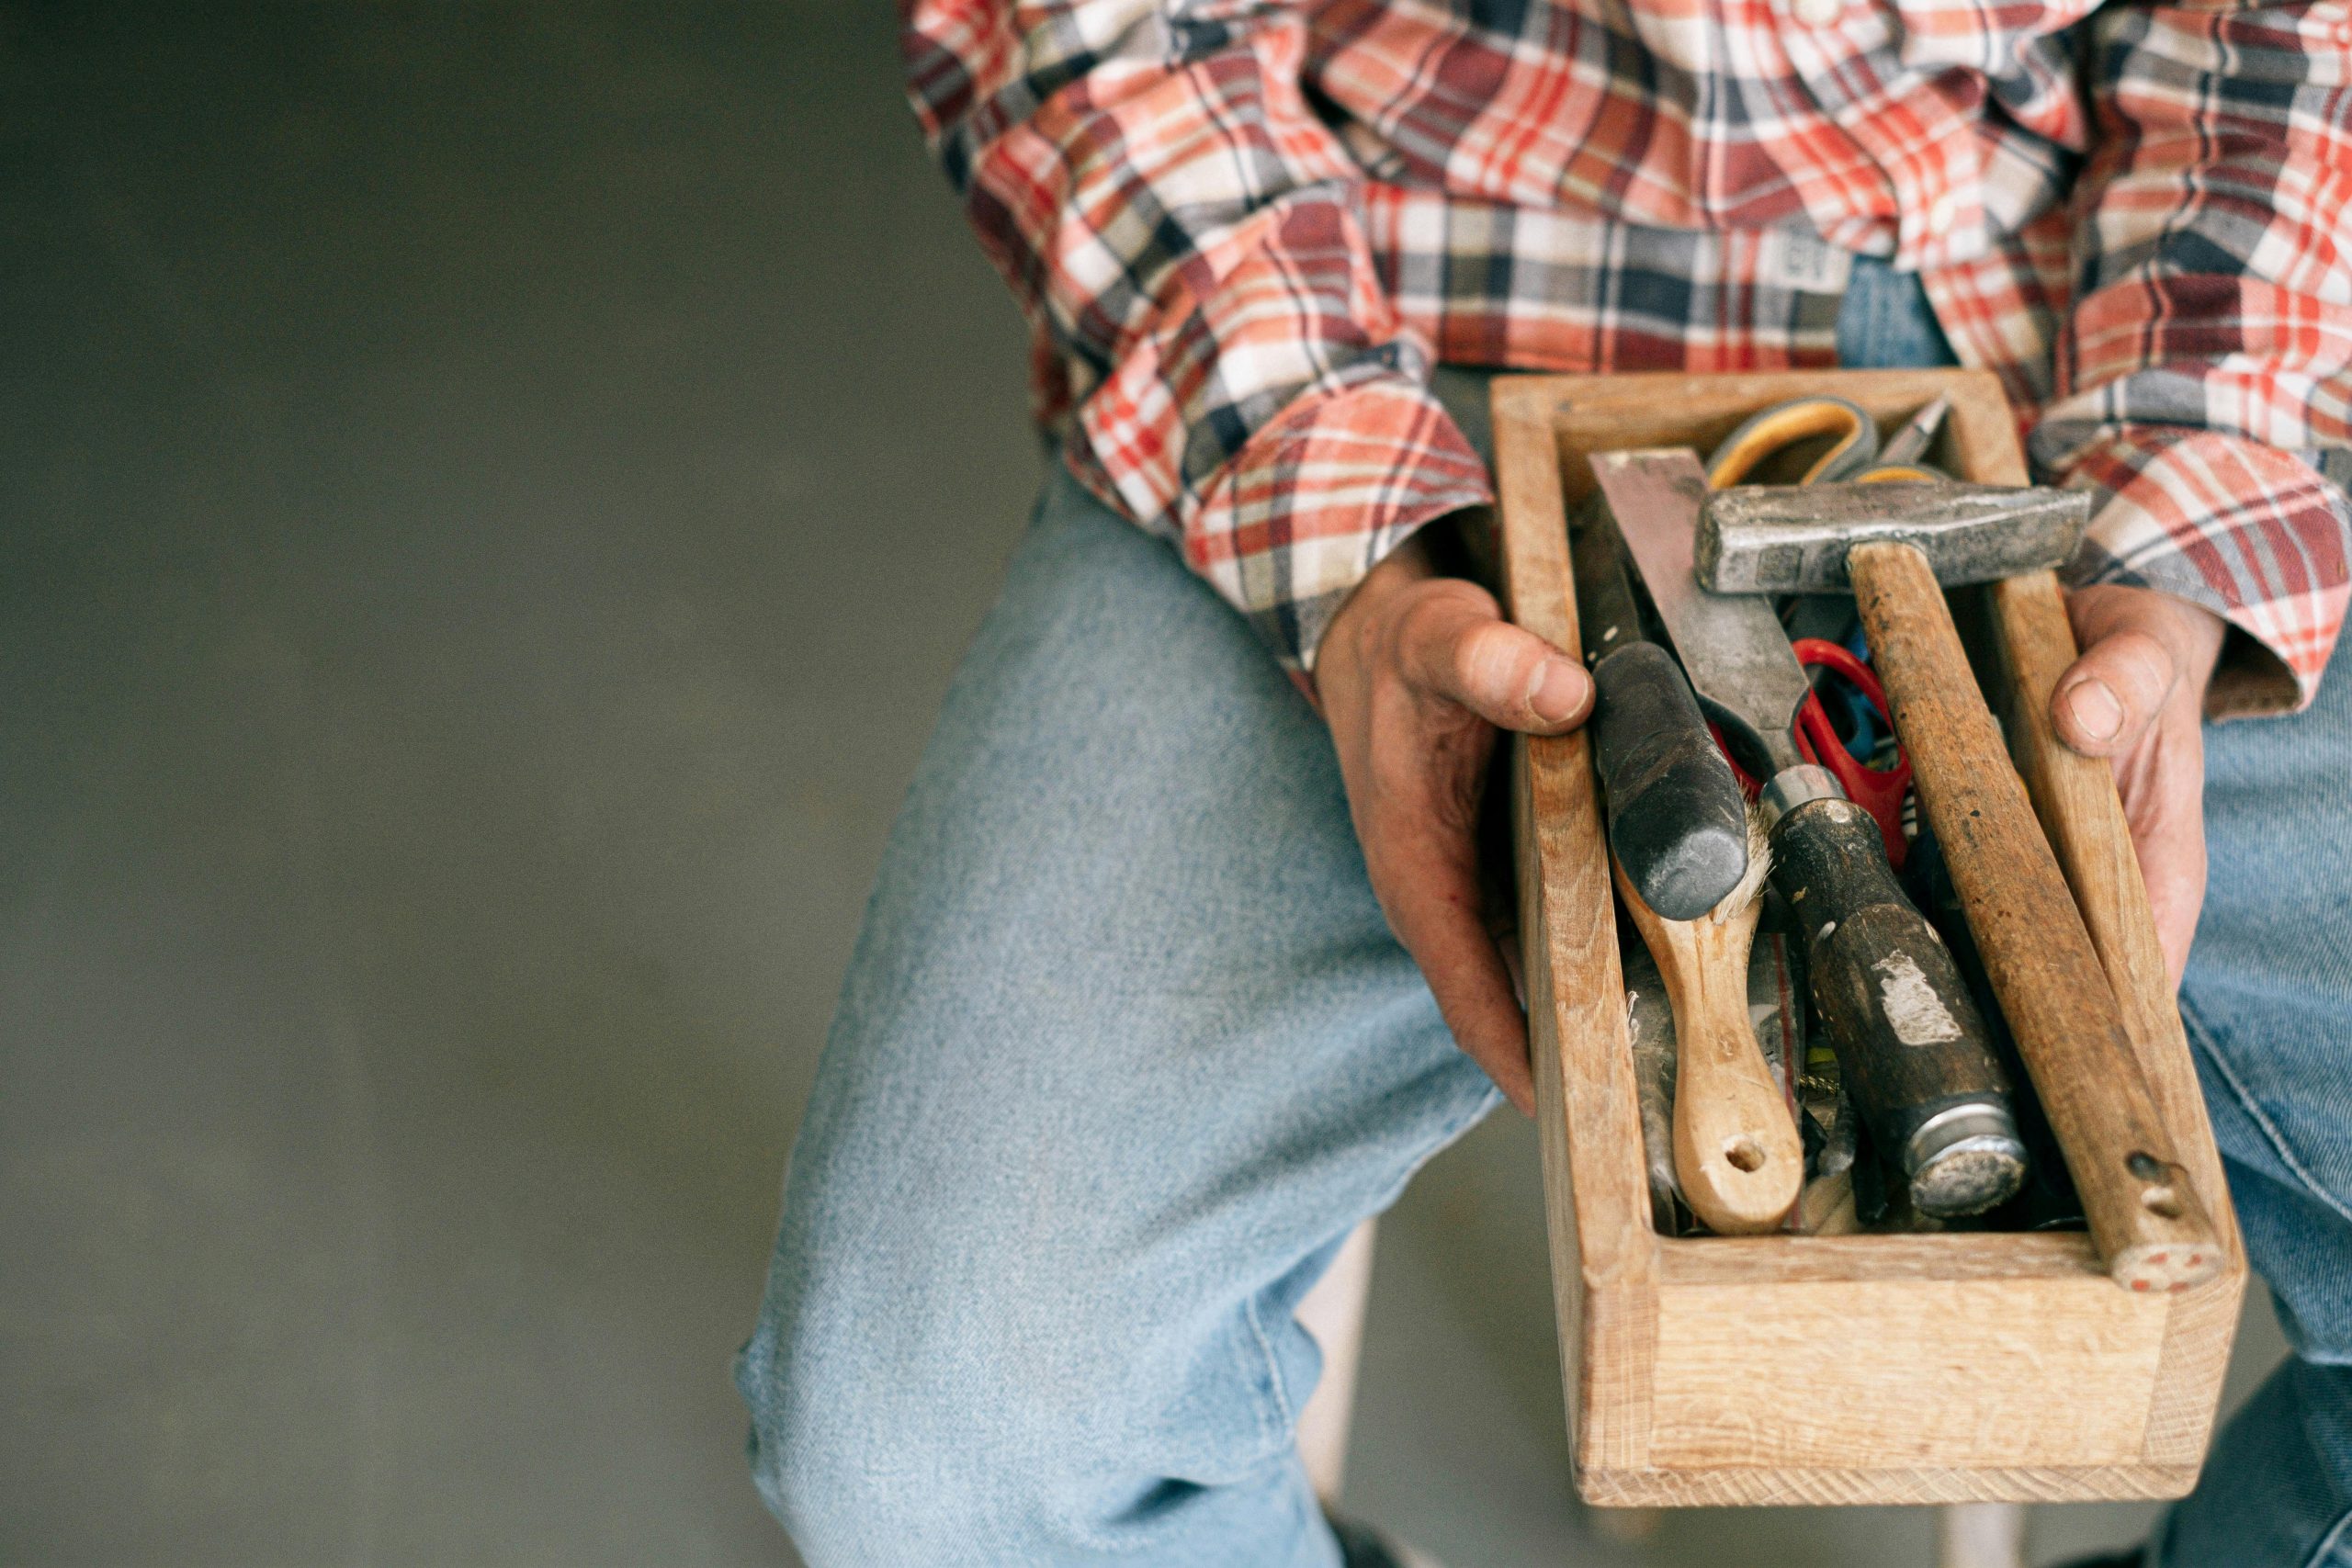
- Hand tools (hammers, pliers, screwdrivers)
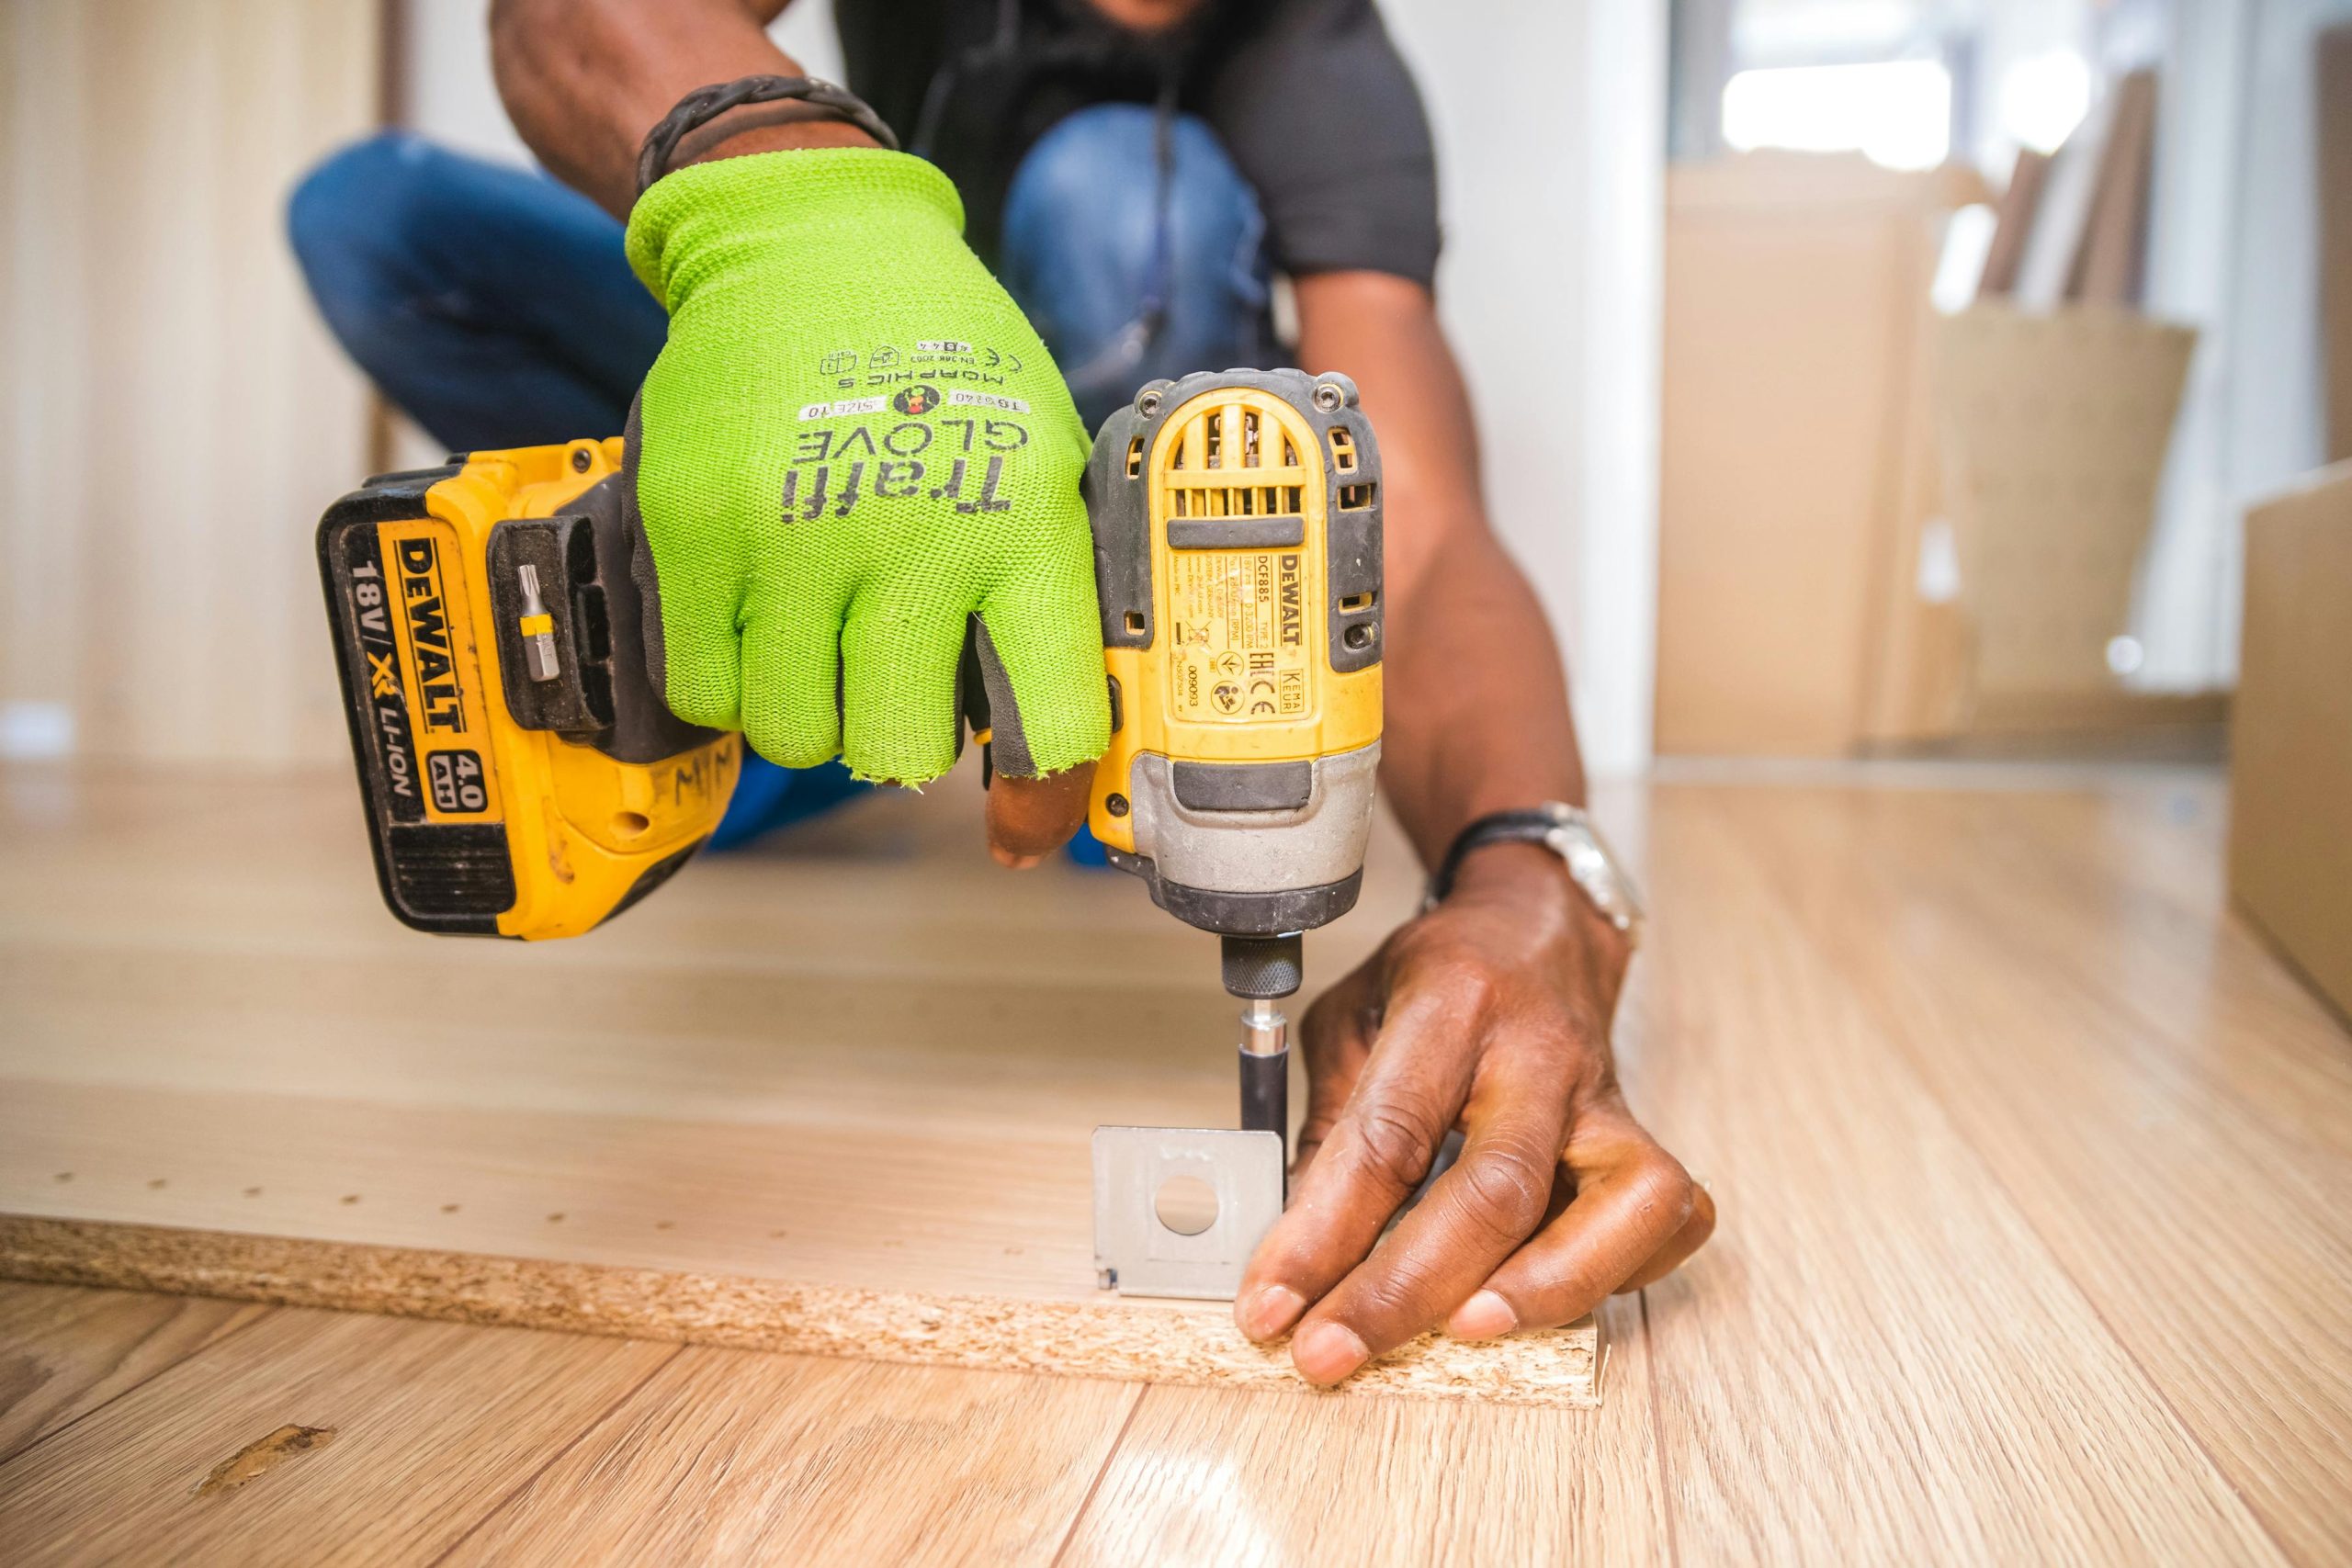
- Power tools (drills, sanders, saws)
- Hardware (screws, nails, bolts)
- Safety gear (gloves, goggles, ear protection)
- Garden tools (rakes, spades, hoses)
- Paint and chemicals (store safely and away from kids/pets)
Bonus Tip: Label boxes or bins as you go—it saves time later.
Step 3: Maximise Vertical Space
Sheds often lack floor space, but they usually have plenty of vertical real estate.
Smart Ideas:
- Pegboards: Perfect for hanging hand tools and keeping them visible.
- Wall-mounted shelves: Store bins, toolboxes, or paint cans up high.
- Magnetic strips: Great for screwdrivers, wrenches, and pliers.
- Hooks and brackets: Hang hoses, extension cords, and power tools.

Why It Works: Vertical storage keeps tools off the ground and in plain sight—no more digging through piles.
Step 4: Create Tool Zones or Stations
Just like a well-planned kitchen, your shed should have “zones” based on how you work.
Examples:
- Workbench Zone: Store commonly used hand tools above or beside your workbench.
- Power Tool Station: Shelves for tools, drawers for accessories, and nearby power outlets.
- Gardening Corner: Racks for long-handled tools and a caddy for gloves, seeds, and twine.
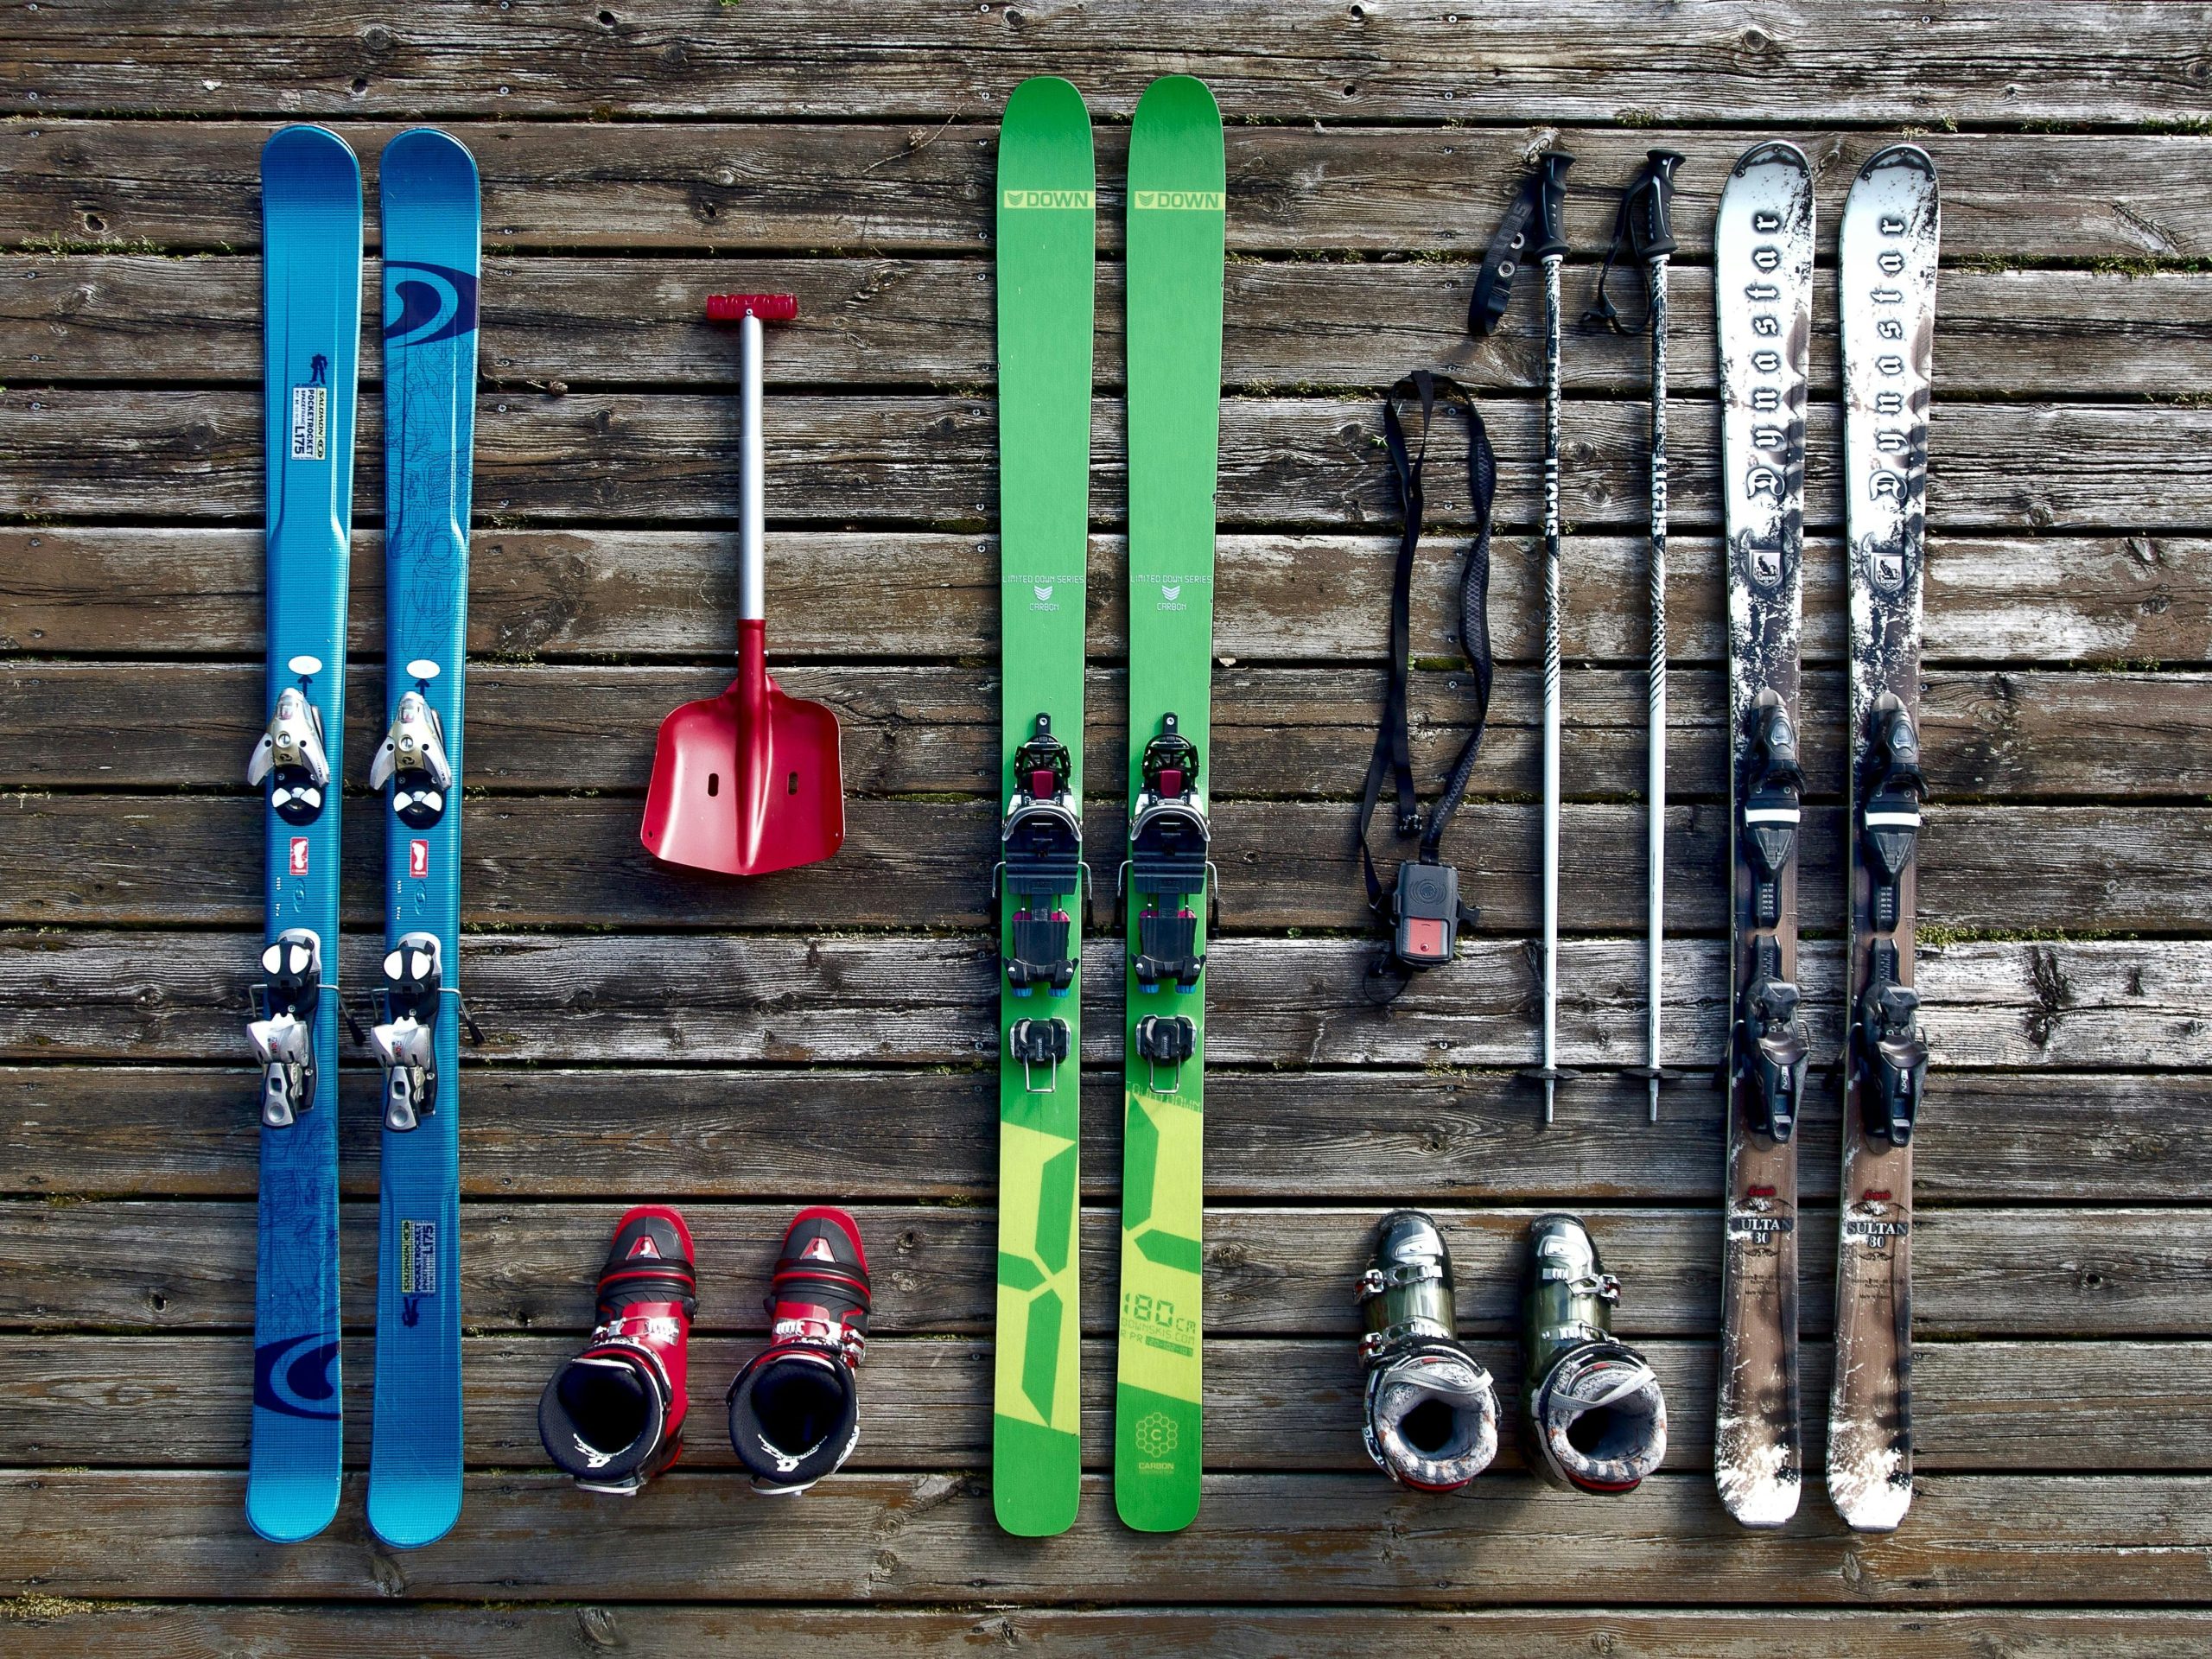
Efficiency Tip: Keep frequently used items at arm’s reach; store seasonal or rarely used gear up high or at the back.
Step 5: Use Clear, Stackable Bins for Small Parts
Loose nails, screws, washers, and drill bits can quickly turn your shed into a hardware nightmare.
Storage Hacks:
- Use stackable plastic bins with labels.
- Invest in compartmentalized containers or drawer organisers.
- Reuse jars or takeaway containers (label them with a marker or sticker).

Pro Tip: Clear bins let you see contents instantly—no need to open every box to find a screw.
Step 6: Protect Tools from Moisture and Rust
Tools stored in humid sheds are at risk of rust, which shortens their lifespan.
Moisture Protection Tips:
- Add a shed dehumidifier or moisture absorber packs.
- Line tool drawers with rust-preventive mats.
- Use WD-40 or similar products on metal tools periodically.
Long-Term Tip: Insulate and ventilate your shed if moisture is a recurring issue.
Step 7: Maintain the System Regularly
A shed doesn’t stay organized on its own.
Monthly Maintenance Checklist:
- Put tools back after use (set a 5-minute cleanup rule)
- Check for rust, damage, or disorganisation
- Replenish consumables (nails, tape, gloves)

Routine Tip: Treat your shed like a workstation, not a dumping ground—future you will thank you.
Conclusion
A well-organized tool shed isn’t just satisfying—it’s a serious upgrade to your efficiency, safety, and enjoyment of any project. Whether you’re a weekend DIY warrior or a seasoned tradesperson, investing time in storage and organization pays off every single time you reach for a tool.
Start small, think vertically, and maintain your system—because an efficient shed isn’t built in a day, but it sure makes every day easier.


Post Comment