How to Prevent Concrete from Cracking: Proven Strategies for Durable Slabs
Introduction
Concrete is one of the most ubiquitous building materials—strong, versatile, and cost-effective. Yet, even the toughest concrete can develop cracks over time, compromising structural integrity and appearance. Cracks aren’t just cosmetic issues; they can allow moisture ingress, accelerate reinforcement corrosion, and lead to costly repairs. The good news? With proper planning, design, mix selection, placement, and curing, you can greatly reduce the risk of cracking. In this guide, we’ll explore the root causes of concrete cracks and share seven practical strategies—from optimizing your mix design to controlling shrinkage and thermal stresses—that ensure your concrete stays solid and crack-free for years to come.
1. Understand Why Concrete Cracks
Before diving into prevention methods, it’s crucial to recognize the main causes of cracking:
1.1 Plastic Shrinkage
- Occurs When: Fresh concrete loses moisture too quickly (high temperature, wind, or low humidity).
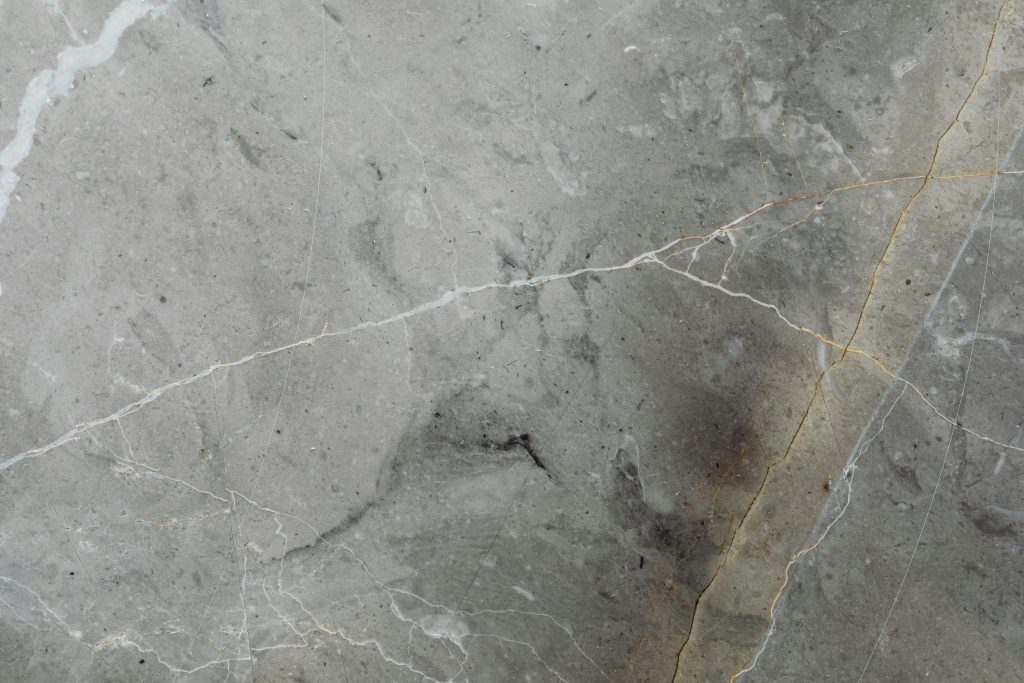
- Result: Surface shrinkage before hardening, leading to spiderweb or map-like cracks.
1.2 Drying Shrinkage
- Occurs When: Hardened concrete continues to lose water over weeks or months.
- Result: Overall volume reduction, causing restraint stresses and cracks.
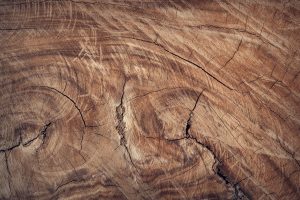
1.3 Thermal Cracking
- Occurs When: Temperature differentials develop within the concrete mass (e.g., in mass pours or sudden weather changes).
- Result: Tensile stresses exceed concrete’s low tensile strength.
1.4 Structural Overload and Settlement
- Occurs When: Loads exceed design capacity or ground underneath shifts.
- Result: Flexural or settlement cracks at weak points.
Real-Life Analogy: Think of concrete like baking a loaf of bread. If the dough dries too quickly on top before it’s fully risen, you’ll get surface splits—just as rapid moisture loss in concrete causes plastic shrinkage cracks.
2. Optimize Your Mix Design
A well-engineered concrete mix is your first line of defense against cracks.
2.1 Control Water-Cement Ratio
- Aim For: A water-cement ratio (w/c) between 0.40 and 0.50.
- Why It Matters: Lower w/c increases strength and reduces drying shrinkage.
- Tip: Use superplasticizers to maintain workability at low w/c.
2.2 Use Supplementary Cementitious Materials (SCMs)
- Examples: Fly ash, slag, silica fume.
- Benefits:
- Reduce heat of hydration (mitigates thermal cracking).
- Improve long-term strength and durability.
- Lower permeability, reducing moisture-related shrinkage.
2.3 Incorporate Fibers
- Types: Steel, synthetic, or glass fibers.
- Function:
- Distribute micro-cracks and control crack width.
- Enhance post-crack toughness and impact resistance.
- Recommended Dosage: 0.5–1.5 kg/m³ (refer to manufacturer guidelines).
3. Emphasize Proper Reinforcement
Steel reinforcement and joint placement guide cracks to harmless locations.
3.1 Steel Reinforcing Bars (Rebar)
- Placement: Ensure proper cover and spacing per design codes.
- Role: Carry tensile stresses that concrete alone cannot resist.
3.2 Wire Mesh or Welded Wire Fabric
- Use For: Slabs on grade and pavements.
- Effectiveness: Controls shrinkage cracking by distributing loads and limiting crack widths.
3.3 Control and Expansion Joints
- Control Joints: Placed at 24–36 × thickness (in inches) spacing (e.g., 10 × 10 ft for 4 in slab).
- Depth: At least one-quarter the slab thickness.
- Expansion Joints: Provide isolation at fixed structures, allowing free movement without random cracking.
Expert Tip: Saw cuts should be performed within 6–18 hours after finishing—early enough to create a weak plane but after initial set.
4. Ensure Correct Placement and Finishing
Even the best mix can crack if placement and finishing are rushed or improper.
4.1 Avoid Over-Working the Surface
- Too Much Troweling: Draws moisture to the surface, weakening the top layer.
- Best Practice: Strike off and bullfloat promptly, then finish only once bleed water has evaporated.
4.2 Maintain Uniform Thickness
- Why: Sudden changes in slab thickness create weak spots prone to cracking.
- Tip: Use screed rails or laser screed machines for accuracy.
4.3 Monitor Ambient Conditions
- High Heat or Wind: Erect windbreaks and sunshades; use evaporation retardants.
- Cold Weather: Insulate forms and use warm mixing water; consider accelerating admixtures.
5. Implement Proper Curing Techniques
Curing keeps concrete hydrated and strong, minimizing shrinkage.
5.1 Moist Curing
- Methods:
- Continuous wet burlap or geotextile mats.
- Spraying or ponding with clean water.
- Duration: At least 7 days for normal mixes; 14 days for high-performance mixes.
5.2 Membrane-Forming Curing Compounds
- Application: Spray or roll on surface immediately after finishing.
- Benefits: Retains moisture, provides uniform curing film, and speeds up work area reopening.
5.3 Plastic Sheeting
- Use: Lay polyethylene sheets over slab edges to trap moisture.
- Precaution: Seal edges to prevent wind from lifting the sheeting.
Real-Life Analogy: Curing concrete is like letting a cake cool properly—if you cut into it too soon, it crumbles.
6. Control Joints and Reinforcement Detailing
Strategically placing joints and detailing reinforcement ensures cracks occur where you want them.
6.1 Joint Layout Principles
- Square vs. Rectangular Panels: Keep bays roughly equal in length and width.
- Avoid Isolated Slivers: Don’t let small, triangular sections remain.
6.2 Reinforcement Overlaps and Dowels
- Dowel Bars: Facilitate load transfer across joints in pavements.
- Lap Splices: Follow code requirements for minimum overlap lengths to maintain continuity.
6.3 Edge Pull-Out Prevention
- Reinforcement Near Edges: Avoid placing rebar too close to the formwork—maintain minimum cover to prevent edge cracks.
7. Address Environmental and Subgrade Conditions
External factors can undermine even well-designed concrete if not managed properly.
7.1 Subgrade Preparation
- Compaction: Achieve uniform, well-compacted base to prevent settlement.
- Moisture Control: Install vapor barriers to prevent moisture loss into dry subgrade soils.
7.2 Drainage and Slope
- Surface Drainage: Grade slabs to shed water away from edges.
- Underdrains: In saturated soils, install drains to prevent capillary rise.
7.3 Freeze-Thaw Protection
- Air-Entraining Admixtures: Introduce stable air voids to relieve internal frost pressures.
- Sealers and Coatings: Prevent deicing chemicals and moisture infiltration.
8. Regular Maintenance and Monitoring
Preventive maintenance extends the life of your concrete structure.
- Crack Repairs: Seal hairline cracks early with epoxy or polyurethane injections.
- Surface Sealers: Apply penetrating or topical sealers every 2–3 years to limit moisture ingress.
- Routine Inspections: Check joints, edges, and load-bearing areas for wear or distress.

Expert Insight: Early intervention—sealing minor cracks within the first year—can prevent larger structural issues later on.
Conclusion
While concrete will always experience some degree of shrinkage and stress, proper design, mix optimization, placement practices, and curing can dramatically reduce the formation and width of cracks. By understanding the causes of cracking and implementing these eight strategies—ranging from mix design and reinforcement detailing to environmental controls and maintenance—you can ensure your concrete structures remain durable, safe, and aesthetically pleasing for decades. Remember: the best defense against cracking starts long before the concrete is placed—plan meticulously, execute carefully, and cure thoroughly.


Post Comment