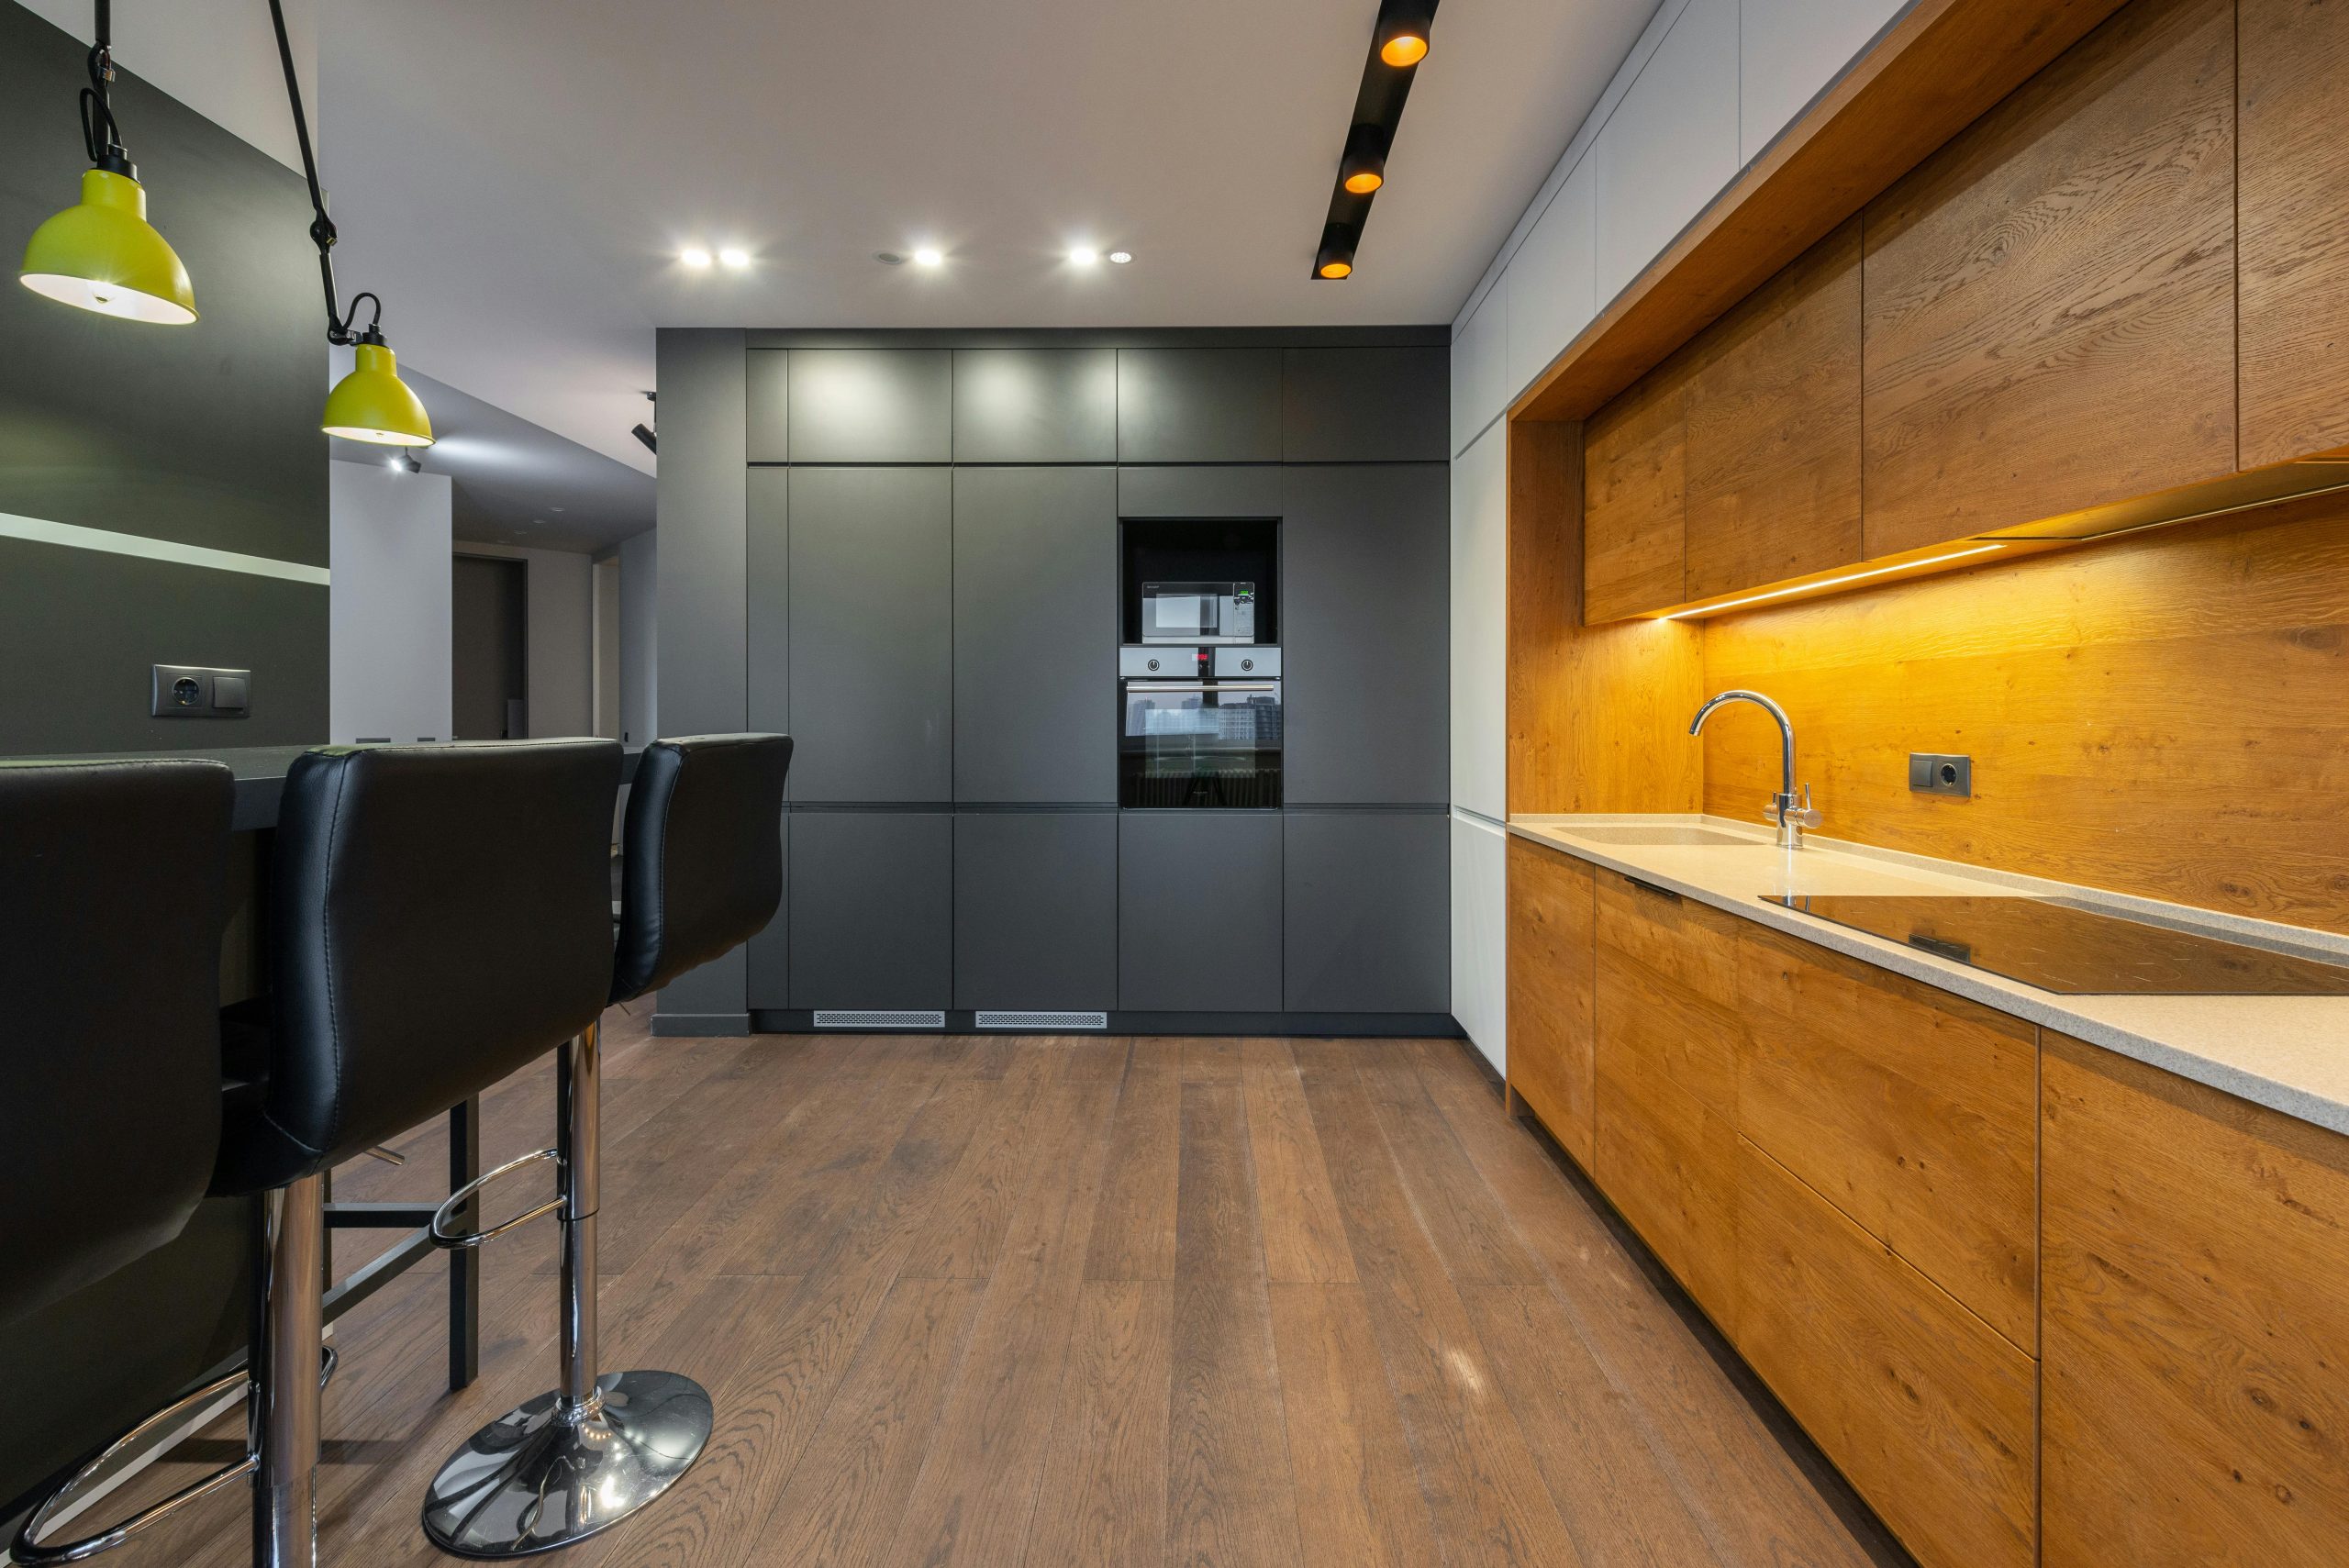
How to Plan a Kitchen Renovation Step-by-Step
Renovating your kitchen is one of the most rewarding home improvement projects. A well-planned kitchen renovation can improve functionality, enhance aesthetics, and increase your home’s value. However, a successful renovation requires careful planning and organization to avoid unnecessary stress and costs. Here’s a step-by-step guide to help you plan your kitchen renovation seamlessly.
| Step | Key Actions | Purpose | Tips for Success |
|---|
| Define Goals | Assess current kitchen issues, determine needs, and prioritize functionality or aesthetics. | Ensures a clear vision for the renovation. | Write a list of must-haves and nice-to-haves. |
| Set a Budget | Establish a spending limit, allocate funds, and research costs. | Prevents overspending and ensures financial preparedness. | Set aside 10-15% for contingencies. |
| Plan Layout | Choose a layout (L-shaped, U-shaped, etc.) and consider the work triangle. | Enhances kitchen functionality and efficiency. | Use online design tools to visualize the layout. |
| Select Materials | Pick materials for cabinets, countertops, flooring, backsplash, and paint. | Matches style with durability and budget. | Choose timeless finishes for better resale value. |
| Hire Professionals | Find contractors, gather quotes, and consider specialists for complex tasks. | Ensures quality work for significant changes like plumbing and electrical installations. | Check references and reviews before hiring. |
| Create a Timeline | Break down the renovation into phases and set realistic milestones. | Keeps the project on track and avoids unnecessary delays. | Order materials in advance to prevent supply issues. |
| Prepare for Demolition | Empty the kitchen, set up a temporary space, and protect adjacent areas. | Reduces stress during the demolition phase and keeps other areas clean. | Label items to make reorganization easier post-renovation. |
| Oversee Installation | Monitor the installation of cabinets, countertops, appliances, and fixtures. | Ensures all elements are installed correctly and align with the design plan. | Regularly communicate with contractors to address issues promptly. |
| Add Finishing Touches | Install hardware, decor, and organize storage spaces. | Completes the kitchen’s aesthetic and functionality. | Incorporate personal touches like plants or artwork. |
| Final Walkthrough | Inspect all work, test appliances, lighting, and plumbing, and resolve any outstanding issues. | Ensures the kitchen is ready for use and meets expectations. | Create a checklist to ensure nothing is overlooked. |
Step 1: Define Your Goals
Assess Your Needs
Start by identifying what you want to achieve with your renovation. Ask yourself: What are the current issues with your kitchen? Do you need more storage, better appliances, or improved layout? Are you aiming for a modern look or a traditional style?
Set Your Priorities
Once you’ve identified your goals, prioritize them. For example, if functionality is more important than aesthetics, focus on improving storage and workflow first.
Step 2: Set a Budget
Determine Your Spending Limit
Establish a realistic budget for your renovation. Factor in costs for materials, labour, appliances, and unexpected expenses (allocate at least 10-15% of your budget for contingencies).
Research Costs
Gather information about the average costs of kitchen renovations in your area. This includes cabinetry, countertops, flooring, lighting, and appliances.
Decide on Splurge vs. Save Items
Identify areas where you want to invest more, such as high-quality countertops or appliances, and areas where you can save, such as DIY painting or prefabricated cabinets.
Step 3: Plan Your Layout
Choose a Kitchen Layout
The layout is the foundation of your kitchen’s functionality. Popular layouts include: L-Shaped Kitchen: Ideal for maximizing corner space. U-Shaped Kitchen: Great for larger kitchens needing plenty of storage. Galley Kitchen: Efficient for small spaces. Open Concept: Best for integrating the kitchen with the living area.
Consider the Work Triangle
Ensure the distance between the sink, stove, and refrigerator (the “work triangle”) is optimized for convenience and efficiency.
Step 4: Select Materials and Finishes
Cabinets and Countertops
Choose durable and attractive materials that match your style and budget. Popular options include: Countertops: Granite, quartz, laminate, or butcher block. Cabinets: Solid wood, MDF, or custom-built options.
Flooring
Select flooring that is durable, water-resistant, and easy to clean, such as tile, vinyl, or hardwood.
Backsplash and Wall Colours
Pick a backsplash and wall paint that complements the rest of your kitchen. Neutral tones are timeless, while bold colours can add personality.
Step 5: Hire Professionals
Find the Right Contractor
If your renovation involves significant changes like moving walls or plumbing, hire a licensed contractor. Get multiple quotes and check references before making a decision.
Consider Specialists
For tasks like custom cabinetry, lighting, or countertops, consider hiring specialists with expertise in those areas.
Step 6: Create a Timeline
Set Milestones
Break down your renovation into phases, such as demolition, installation, and finishing touches. Assign realistic timelines to each phase.
Avoid Delays
Order materials and appliances well in advance to avoid delays. Communicate regularly with your contractor to ensure everything stays on track.
Step 7: Prepare for Demolition
Clear the Space
Empty your kitchen of all items and appliances before demolition begins. Create a temporary kitchen in another part of your home for essential cooking.
Protect Adjacent Areas
Cover nearby furniture and floors to protect them from dust and debris.
Step 8: Oversee Installation
Cabinets and Countertops
Ensure cabinets are installed first, followed by countertops. Verify that all measurements are accurate and adjustments are made if necessary.
Plumbing and Electrical
Coordinate with plumbers and electricians to install fixtures, appliances, and lighting according to your design plan.
Step 9: Add Finishing Touches
Install Fixtures and Hardware
Add cabinet handles, faucets, and lighting fixtures to complete the look.
Decorate and Organize
Incorporate decor elements like rugs, artwork, or plants to personalize your kitchen. Organize storage to make the space functional and visually appealing.
Step 10: Final Walkthrough
Inspect the Work
Check that all tasks have been completed to your satisfaction. Test appliances, lighting, and plumbing to ensure they function properly.
Address Issues
If you notice any issues, communicate them to your contractor or handle them promptly.
A well-planned kitchen renovation can transform your home and make daily tasks more enjoyable. By following these steps, you can stay organized, stick to your budget, and achieve a kitchen that perfectly suits your needs and style. With a little patience and preparation, your dream kitchen is within reach!


Post Comment